How to Start an Electric Fireplace?
Starting an electric fireplace is done one of three ways. All are super simple! The fireplace can be operated by a touch panel or switch, usually located on the top or side of the unit. One tab will turn it on/off and other buttons will turn the heat on/off and adjust the liveliness of the flames.
Another way to start your electric fireplace is with a remote control. Make sure there’s fresh batteries in the remote and the power to the fireplace is on. Most fireplaces will require the main power switch be in a certain position when using a remote.
The remote will control: the unit being turned on/off, the heater being turn on/off and high/low, the temperature function and can adjust the lighting effects on the equipment.
Remotes usually use a line of site to operate, so it’s important to make sure you point the remote to the center of the fireplace each time you press the button. You’ll hear a beep and there may be a slight delay for the receiver to respond to the transmitter.
The third way to start your electric fireplace is with a wall thermostat. This operates the same way the thermostat for your furnace works. Wiring is run from the back of the fireplace to the thermostat in the wall. Simply set the desired temperature and when the thermostat starts calling for heat, the fireplace cycles on. When the thermostat is satisfied, it turns the heat off.
Of these three ways to start an electric fireplace, the remote control option is certainly the most popular.

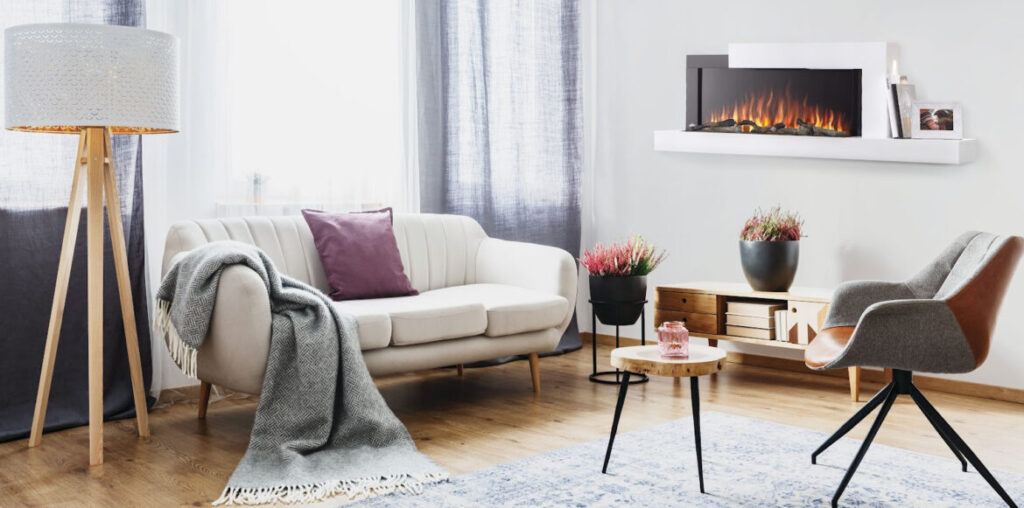
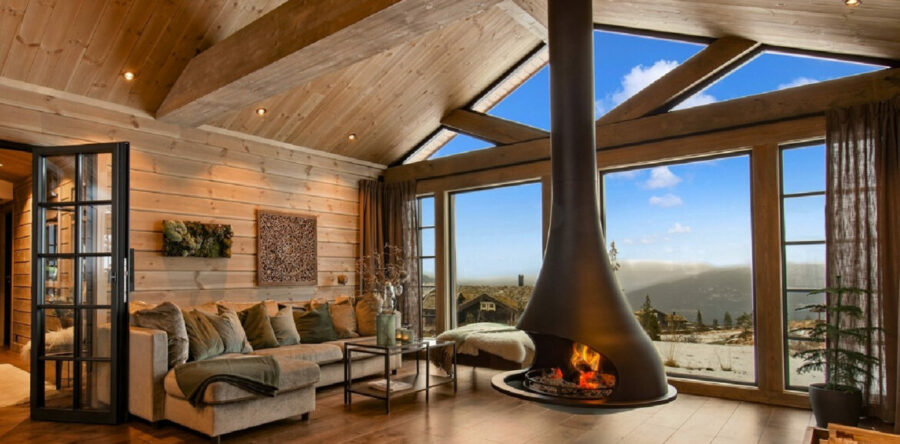
Electric Fireplace by Ambiance
WHEN TO USE AN ELECTRIC FIREPLACE?
Anytime and/or all the time is the answer to this question! That’s because leaving the flame and lighting effects on for several hours a day, costs just pennies! Much has been said about the spectacular effects of today’s electric fireplaces, so why not enjoy them every day? The colors, media options and the inexpensive costs to enjoy the light show are reasons enough to keep your fireplace on all the time!
If you’re looking for ambiance and atmosphere, the fireplace can be on day and night. Use the heating feature on the fireplace only when you’re looking for supplemental heat for a brief period of time. Continuous electric heating can be quite expensive.
HOW LONG SHOULD I RUN AN ELECTRIC FIREPLACE?
Leaving an electric fireplace on all the time is not going to cause any damage to the equipment. However, with the heating element on, the damage is going to be felt in the balance of your checking account! Unless your home is specifically designed for electric heat, heating with electricity is an expensive way to go. If you’re looking for heat from your electric fireplace, it’s best to think of it as supplemental heat, not your main heat source.
Some folks use electric fireplaces as subdued, night lighting that’s left on overnight for the kids or elderly. Others use the fire and ice effects as a subliminal cooling effect in the summertime! Many consider an electric fireplace as “moving wall art”! We’re guessing that anyone who operates the remote will have their favorite colors and effects! The flames and light show on your electric fireplace cost pennies a day. So, keep it turned on and enjoy it!
ELECTRIC FIREPLACE MAINTENANCE
Electric fireplace equipment does not need a lot of regular routine maintenance. Keeping the batteries fresh in the remote probably tops the list. Most require AAA’s.
Cleaning the kids’ fingerprints from the glass can be done with a common household glass cleaner using a non-abrasive cloth. Let the glass thoroughly cool before cleaning.
And, if you have dogs or cats in the house, make sure the fireplace is kept free of pet hair and dust bunnies. Use a vacuum with a soft brush attachment to gently remove any dirt, dust, lint or other debris from the vent openings and control areas of the fireplace.